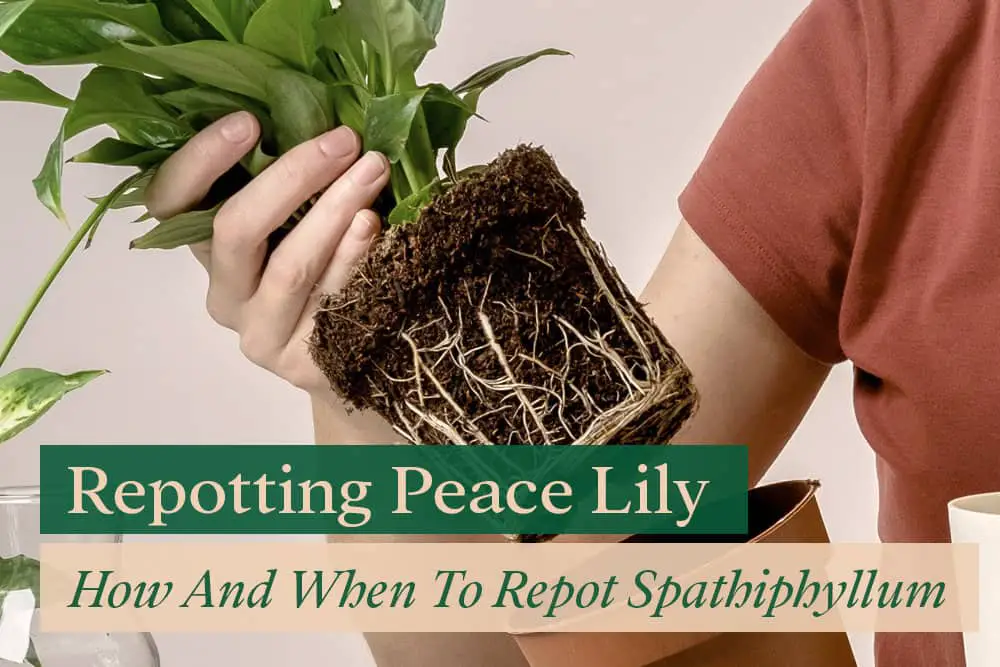
When is the last time you repotted your Peace Lily? If it has been more than a year, then it is probably time to do so. But how do you know when it is time to repot a Peace Lily? And what is the best way to go about doing it?
A Peace Lily should be repotted every two years to prevent the roots from becoming pot-bound and to keep the potting mix fresh. However, if root rot is detected, an immediate repot should be performed.
We’ll cover everything you need to know about repotting a Peace Lily, including:
- Why do you need to repot and signs to watch for
- Preparations for repotting a Peace Lily
- Steps by steps guide to repotting a Spathiphyllum
- Caring For a Peace Lily After Repotting
- Possible Reasons for Peace Lily Dying After Repotting
Let’s get started!
Main Reasons Why Peace Lily Needs Repotting
Repotting can be a stressful process for both you and your plant. So, it is important to only repot when necessary. Here are the main reasons why your Peace Lily might need repotting:
1. Rootbound
While Peace Lily doesn’t mind being a little pot-bound, they will eventually need repotting if left in the same pot for too long.
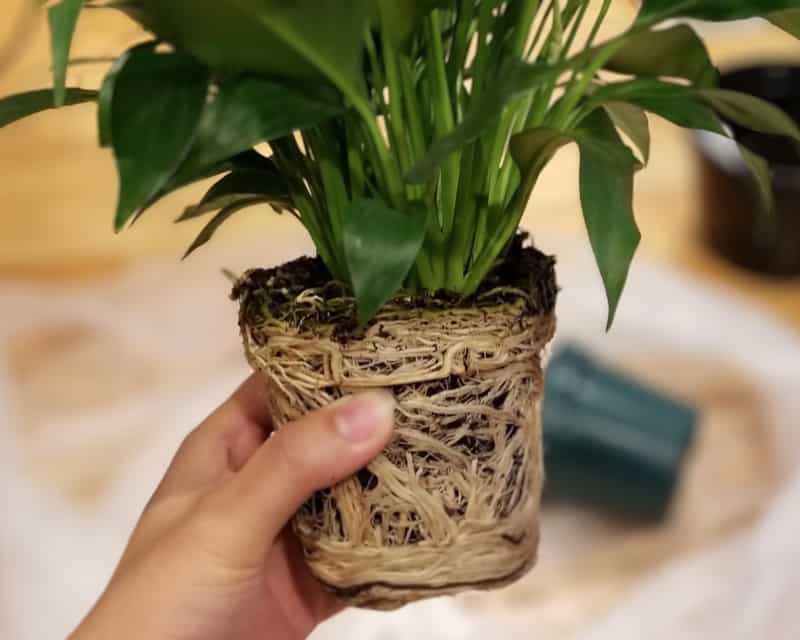
A severely rootbound Peace Lily will have roots, which are tightly compacted, circling the inside of the container and occupying most of its interior.
Eventually, there isn’t enough space left for soil to hold water, nutrients, and oxygen. This will cause the plant to slowly suffocate, dehydrate, and die.
Signs that your Peace Lily plant is rootbound:
- Roots are growing out of the drainage holes
As there are no more places for them to go, the roots start growing out of the drainage holes in a desperate attempt to get more space.
- Roots are visible on the surface of the potting mix
Similar to the roots growing out of the drainage holes, if there are no more places for the roots to go, they will start growing on the surface of the soil.
Generally, visible roots above the pot indicate far greater overcrowding than roots growing from drainage holes.
- Water drains straight through the soil
As the roots take up the space meant for soil, there is less and less room for the potting mix to retain moisture.
This leads to water draining too quickly through the potting mix without giving the plant a chance to absorb it. As a result, the plant eventually stops growing and droops due to under-watering.
2. Root Rot
Root rot is a serious problem that can kill your Peace Lily if not caught early and treated properly.
Root rot is caused by a build-up of water in the potting mix, which leads to anaerobic conditions. This encourages the growth of fungal pathogens, which attack the roots and cause them to rot.
As the problem progresses, there will not be enough healthy roots left to support the plant, causing it to wilt and eventually die.
Immediate repotting is necessary to save a plant from root rot.
Signs of Root Rot in Peace Lily:
- Leaves turn yellow, limp, and droop
The first sign of root rot is usually wilting leaves. As the roots are responsible for taking up water and nutrients from the soil, a lack of healthy roots will cause the leaves to turn yellow and droop.
- Bad smell coming from the potting mix
When potting mix smells horrible, like ammonia, it is most likely anaerobic and harbors bacteria that produce the odor.
- Mushy, brown, or black roots
Take your plant out of its pot and check the roots. Healthy roots are white or light-colored, while rotting roots are mushy, brown, or black. If you see any signs of root rot, it is important to take action immediately.
Preparation for Repotting a Peace Lily
When repotting a Peace Lily, it is important to minimize stress on the plant by being prepared and gentle throughout the process.
Here are some tips to help you prepare for repotting your Peace Lily:
Choosing the Best Time to Repot
You can repot your Peace Lily at any time of the year. However, if the situation isn’t urgent, it is best to repot in spring or early summer when the plant is actively growing.
While Peace Lily doesn’t go dormant in winter, the low temperature and lack of bright sunlight will slow down the photosynthesis process. As a result, the plant won’t be able to recover as quickly from the transplant shock.
Purchase a New Pot
When repotting, it is important to use a clean pot that is only slightly larger (max. 2 inches wider) than the current one. A pot that is too large will hold too much water, which can lead to root rot.
Make sure the pot has drainage holes to allow excess water to drain out. You can use a coffee filter or wire mesh to cover the drainage holes and prevent the potting mix from washing out.
When repotting a root rot-infected plant, it is best to use a new pot and fresh potting mix. But, if you must reuse the pot, make sure to sterilize it with a solution of 10 parts water to 1 part bleach for an hour
Choosing the pot material
Any type of pot will work for Peace Lily, as long as it has drainage holes. However, some materials are better than others.
Generally, unglazed ceramic makes the best pot material because it allows air and water to pass through. Air movement stimulates root growth, which results in healthier plants.
Also read: Complete Guide on Choosing the Best Pot for Peace Lily
Prepare the Right Soil Mix
When it comes to potting mix, Peace Lily prefers a well-draining mix that is high in organic matter.
You can use ready-made potting mixes, or you can make your own. A good recipe for Peace Lily potting mix is:
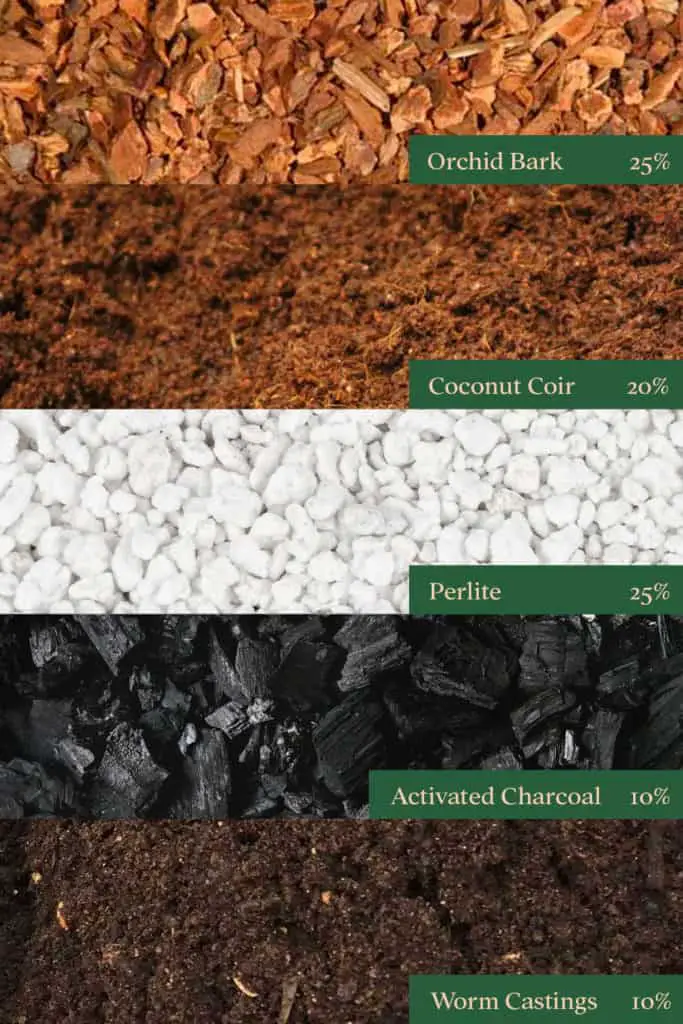
- orchid bark (30%),
- perlite (30%),
- coconut coir (25%),
- activated charcoal (10%)
- worm casting (5%)
Other Necessary Tools
In addition to a pot and potting mix, you will need the following tools:
- pruning shears or a sharp knife
- spoon or scoop
- gloves (optional)
Steps for Repotting Peace Lily Houseplants
Once you have gathered all the necessary supplies, you are ready to repot your Peace Lily. Here are the steps you need to follow:
Step 1: Water the soil
Water the plant a day before repotting to make sure the roots are moist and the soil is easier to work with. This will help reduce transplant shock.
Step 2: Remove Peace Lily from the pot
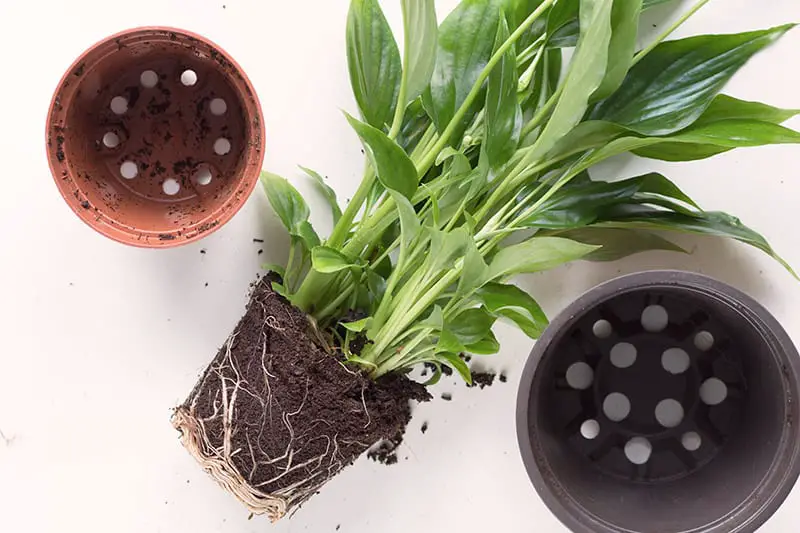
Gently remove the plant from its pot. For a severely root-bound plant, you may need to turn the pot upside down and tap it lightly to loosen the soil.
If the plant is stuck, try sliding a knife or other sharp object around the edge of the pot to loosen it. Be careful not to damage the roots in the process.
Last resort: If the plant still won’t budge, you can cut or break the pot to get it out.
Step 3: Check the roots
Once the plant is out of its pot, take a look at the roots. You may need to use your fingers to loosen the roots.
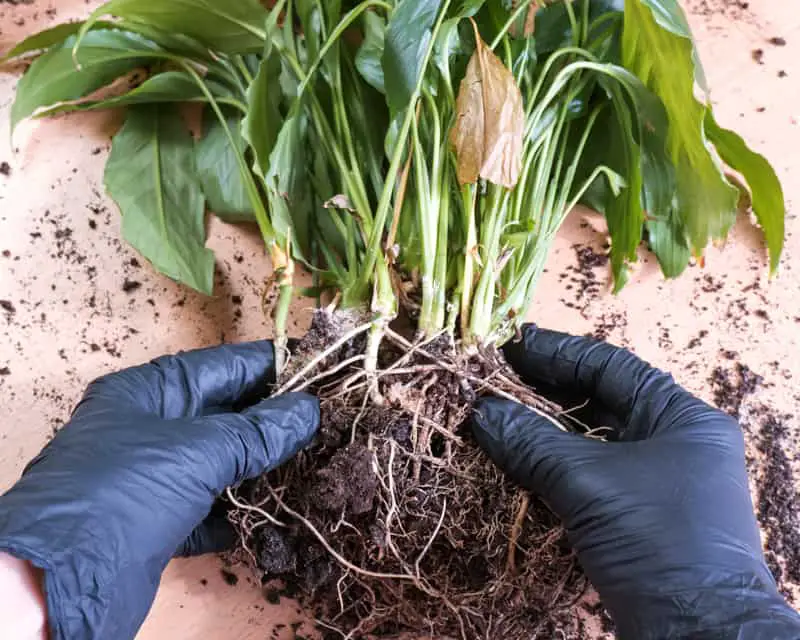
Healthy roots are white or light-colored, while rotting roots are mushy, brown, or black. If you see any signs of root rot, trim away the affected roots with pruning shears.
Step 4: Divide the plant (optional)
If your Peace Lily has outgrown its pot, you can propagate it into two or more plants.
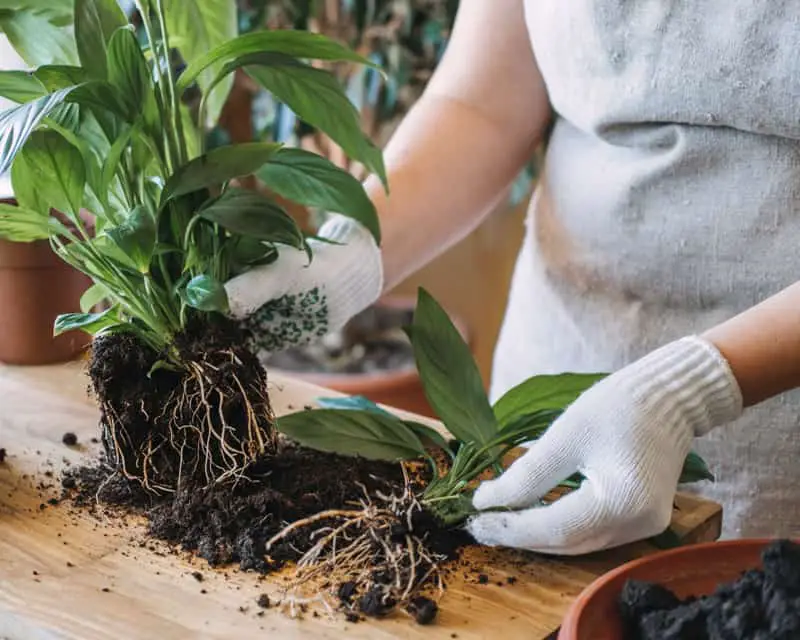
As Peace Lily tends to grow in clusters, it is easy to divide the plant. Gently pull apart the root ball and crown to separate the plants.
If the roots are tangled and won’t come apart easily, you can use a sharp knife to divide the plant.
Step 5: Potting the plant
First, place enough soil in the base of the pot to raise the plant at the same level it was previously growing.
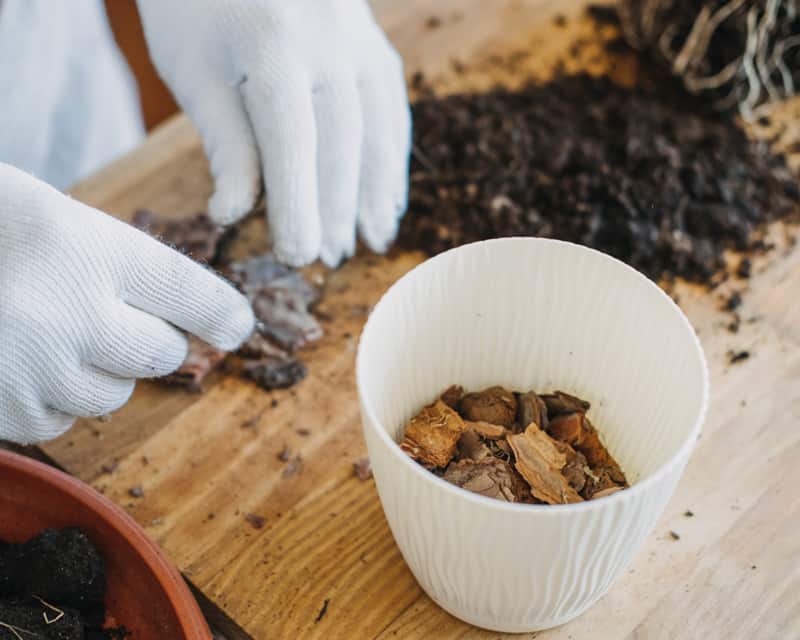
Add more soil mix around the roots and pat it down gently. This ensures there are no large air pockets around the roots.
Do not pack the soil too tightly as this can lead to waterlogged soil and cause root rot.
Make sure there are a few inches of space below the rim of the pot so the soil doesn’t spill out when watering.
Step 6: Water the plant
After repotting, water the plant thoroughly to moisten the potting mix and encourage root growth.
And that’s it!
Caring For a Peace Lily After Repotting
Now that you have repotted your Peace Lily, it is important to give it the care it needs to recover from the transplant.
Here are some tips for caring for a Peace Lily after repotting:
Keep roots moist
Water the plant when the top two inches of soil is dry to the touch. Do not allow the plant to sit in water as this can cause root rot.
Prune old and discolored leaves
Trimming back the plant’s leaves will help it to focus its energy on new growth. Use pruning shears to cut off any old, discolored, or damaged leaves.
Wait patiently
Sometimes it takes a few weeks for a plant to recover from transplanting. Be patient and give your Peace Lily the care it needs, and it will soon bounce back!
Possible Reasons for Peace Lily Dying After Repotting
Even with the best care, your Peace Lily may die after repotting. If your plant is dying after repotting, here are a few possible reasons why:
Potting Soil is too dense or loose
If the potting mix you used is too dense, it can cause waterlogging and root rot. On the other hand, if the mix is too loose, water will drain out too quickly and the roots will not get the moisture they need.
To avoid this, make sure you use a potting mix that is aerated and well-draining. You can also add some perlite or vermiculite to the mix to improve drainage.
Improper watering habit
Overwatering or underwatering your plant may cause it to die. It is not recommended to water according to a schedule, since different environmental conditions will affect your plants’ watering requirements.
The best way to water is to check the soil before watering. Water when the top two inches of soil is dry to the touch. Do not allow the plant to sit in water as this can cause root rot.
The pot has no drainage hole
If you use decorative pots without drainage holes, your Peace Lily is prone to root rot. It is best to use pots with drainage holes to allow excess water to drain out.
Make sure to drill a hole in the bottom of the pot before repotting if it does not have one.
The pot is too big
If you use a pot that is too big for your Peace Lily, it will take longer for the soil to dry out between watering. This can lead to root rot and eventually kill the plant.
It is best to use a pot that is only one or two inches wider than the root ball.
Also read: Peace Lily Bloom: How to Get Spathiphyllum to Flower
