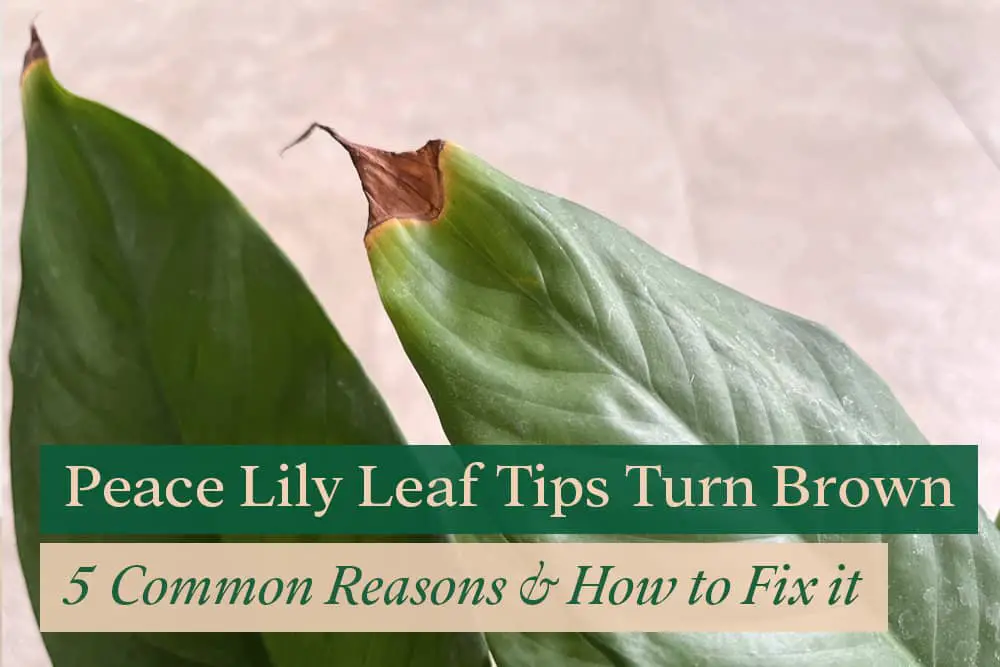
Did you just notice that the tips of your precious peace lily’s leaves are turning brown? If so, you’re probably wondering why it’s happening and what you can do to fix it.
Generally, when plant cells do not receive enough water, they dehydrate, die, and turn brown. The most common cause of this is improper watering. However, other factors, such as temperature stress, low humidity, over-fertilization, and sun scorch, can also cause brown leaf tips.
Now, let’s discuss how you can correctly identify what is causing the brown leaf tips and how you can save your plant quickly.
What happened when leaves tips turn brown
Before we get into the reasons behind brown leaf tips, let’s first discuss what actually happens when leaves turn brown.
Ideally, the roots of a plant will absorb water from the soil and transport it to the leaves. This water is then used by the leaves to create food for the plant through a process called photosynthesis.
As the water reaches the leaf tips last, these areas are the most vulnerable to dehydration and will turn brown first if the plant does not receive enough water.
If the browning of your peace lily’s leaves is severe, it will eventually affect the entire leaf, not just the tips. In extreme cases, the plant may even drop its leaves entirely.
Can brown leaves turn green again?
Unfortunately, once the leaves have turned brown, the dead cells can’t be revived and the leaves will not turn green again.
You can trim the brown leaves to help improve the plant’s appearance, but you’ll need to take action to prevent further damage.
The best way to save your plant is to identify the underlying cause and take steps to fix it quickly. Let’s take a look at some of the most common reasons for brown leaf tips so you can get started.
What Causes Peace Lily Leaves to Turn Brown?
Here are 5 common reasons for brown leaves on peace lilies:
1. Moisture Stress
Peace lilies prefer to grow in airy, well-drained soils that are kept moist but not soggy.
Moisture stress can occur when the soil dries out completely or plants sit in water for extended periods of time.
Let’s take a closer look at each of these scenarios.
Underwatering
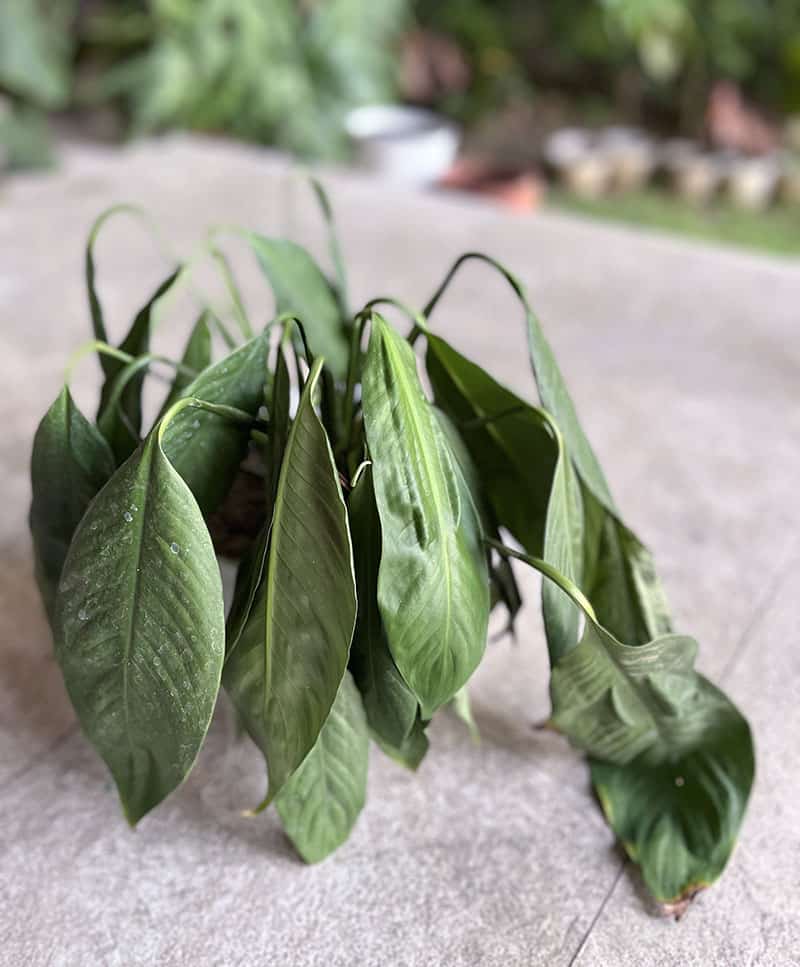
The peace lily is known to be very dramatic when it comes to showing signs of dehydration and one of the first things you’ll notice is that the leaves will start to droop.
If you see your plant’s leaves beginning to droop, this is a sign that it’s thirsty and needs to be watered immediately.
If you wait too long to water your plant, the leaves tips will begin to turn brown as the cells dehydrate and die.
Other signs your peace lily needs immediate watering:
- Droopy leaves and stems
- Leaves turning yellow or brown, dry and brittle
- Flower stop blooming
How to recover from dehydration:
If possible bring your potted peace lily outdoors and water it with a garden hose until water flows freely from the bottom of the pot.
If you can’t bring your plant outdoors, simply submerge the entire pot in a sink or bucket full of lukewarm water for 30 minutes.
Once your plant has had a chance to soak up some water, allow the excess to drain away before returning it to its spot.
Water your peace lily regularly, making sure the soil is moist but not soggy. Use your finger to check the moisture level of the soil before watering. If the top 1-2 inches of soil are dry, it’s time to water.
Also read: Watering Peace Lily Plants: 9 Essential Tips & How Often to Do it
Overwatering
When peace lilies are overwatered, the roots are unable to access the oxygen they need to function properly. This typically happens when the plant is left sitting in water, the soil is too compact or the pot doesn’t have adequate drainage.
Without oxygen, the roots will start to rot and eventually die. As the roots decay, they’ll no longer be able to transport water and nutrients to the leaves, causing the leaf tips to turn brown and die.
Signs of over-watered peace lily plants include:
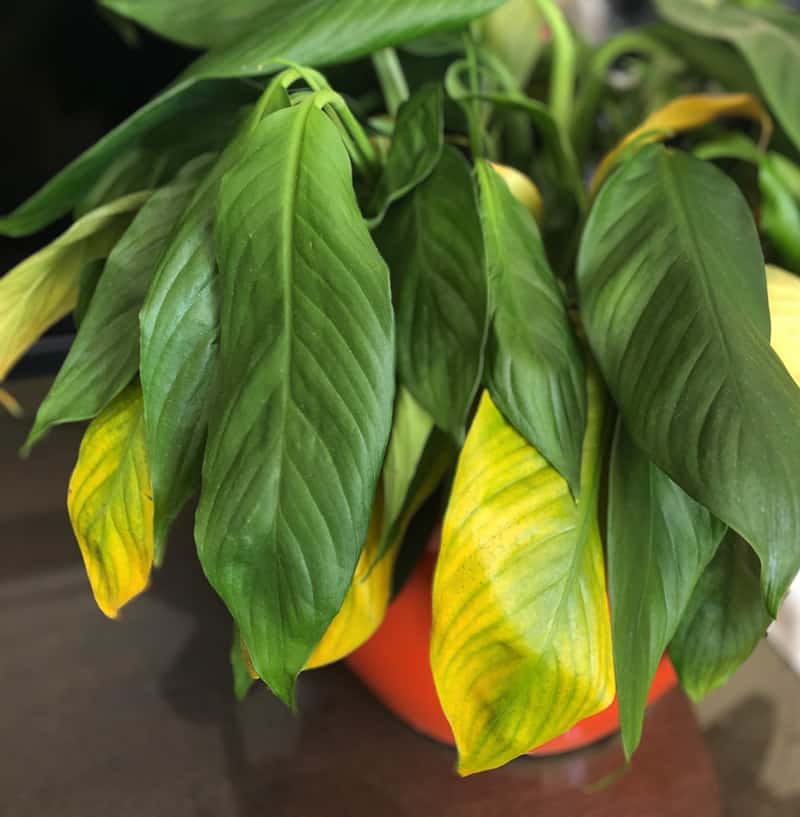
- Leaves that are yellow or brown
- Mushy or soft leaves
- A foul odor coming from the potting mix
- Stunted growth
How to fix over-watered peace lily:
If you think your plant is overwatered, the first step is to stop watering it. Allow the soil to dry out completely before watering again.
If it’s been 2 weeks and the soil is still soggy, you may need to repot your plant. Be sure to use a well-draining potting mix and only water when the soil is dry.
As you repot your peace lily, check the roots for signs of rot. If they’re black or mushy, you’ll need to trim them away and treat the plant with Hydrogen Peroxide before repotting.
To prevent over-watering in the future, only water when the top 1-2 inches of soil are dry, and make sure the pot has adequate drainage and proper size.
Using Hard Water
Hard water in your tap water may contain high levels of minerals like calcium and magnesium, which can build up over time in the soil and cause problems for your Spathiphyllum plants.
Mineral buildup can appear as a white, chalky substance in your potting soil or on the leaves of your plants.
Over time, the build-up of these minerals can lead to brown leaves and other problems like yellowing, stunted growth, and leaf drop.
To prevent mineral build-up, use filtered or distilled water for your peace lily. If you can’t filter or distill your water, allow it to sit for 24 hours before using it on your plants. This will give the minerals time to settle to the bottom of the container.
The built-up minerals in the potting mix can be removed by flushing it with rainwater or distilled water. Do this every month, or as needed, to keep the potting mix fresh and free of harmful minerals.
2. Heat Stress
In tropical conditions, spathiphyllum plants thrive in warm, humid climates between 68°F (20°C) and 85°F (30°C).
When exposed to high temperatures for prolonged periods, the activity of enzymes in the leaf cells is increased leading to the excessive breakdown of chlorophyll. This will result in the leaves turning brown and eventually falling off.
Other signs of heat stress in peace lilies include:
- Leaves that are wilted or drooping
- Yellow leaves
- Slow growth
How to prevent and fix heat stress in peace lily:
Heat stress can be prevented by keeping your plant away from hot sunny windows, fireplaces, and other sources of heat.
When it gets too hot outside, bring your plant indoors to a cool, shady area with good air circulation. Place sheer curtains over windows to diffuse the light and help lower the temperature.
In addition, you can use a fan to circulate the air around your plant and help cool it down.
3. Low Humidity
Peace lily plants are native to tropical rainforests where the air is filled with moisture. The plant thrives in humid conditions with at least 50% relative humidity.
When the air around your plant is too dry, the rate of transpiration (the process of water loss through the leaves) is increased. This can cause the leaves to lose water faster than they can replace it.
Signs of low humidity are almost identical to under-watered plants, including:
- Leaves curling or shriveling
- Crispy and browning on leaves
- Leaf scorch (sometimes)
- Wilting leaves and stems
In order to determine if low humidity is responsible for brown leaves on your peace lily, you must use a hygrometer to measure the humidity in the air.
There are a few things you can do to raise the relative humidity around your plant:
- Use a humidifier in the room where your plant is located.
- Place your plant on a pebble tray
- Cluster your peace lily with other plants together
4. Overfertilizing
I used to believe that more is better when it came to feeding my plants. However, I soon learned that over-fertilizing can be just as harmful as under-feeding your plants.
When you over-fertilize, two things can happen:
First, your peace lily may experience a sudden spurt in growth.
While this might seem like a good thing, the root system may not be developed fast enough to support the new growth, resulting in insufficient uptake of water and nutrients.
As a result, the leaves can turn brown and the growth becomes weak.
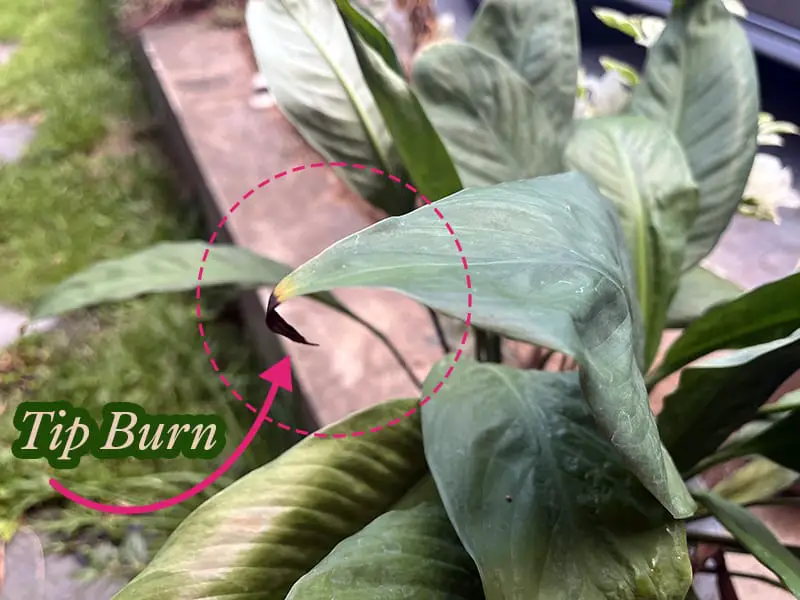
Secondly, too much fertilizer can lead to a build-up of salts in the potting mix. When this happens, it can burn and damage the roots of your plant. This also causes water uptake to be inhibited, leading to drought stress and brown leaves (tip burn).
Signs of over-fertilization include:
- White crust build-up on the potting soil surface
- Yellowing and wilting of leaves
- Browning on leaf tips and margins
- Flowers revert from white to green more quickly
How to fix and prevent over-fertilization:
If you think your plant has been over-fertilized, the first thing you should do is flush the potting mix with lukewarm water. This will help to wash away some of the excess fertilizer.
It is also important to cut back on your fertilizing schedule and only feed your peace lily when it is actively growing. During the winter months, you can skip fertilizing altogether.
When you do fertilize, be sure to use a half-strength solution of a well-balanced fertilizer. I tend to start with only 20% of the recommended amount and work my way up if necessary.
5. Direct Sunlight Exposure
While peace lilies enjoy bright, indirect sunlight, they will not tolerate direct sunlight. The hot sun can scorch the leaves, causing them to develop leaf spots or burn along the margin of the leaf.
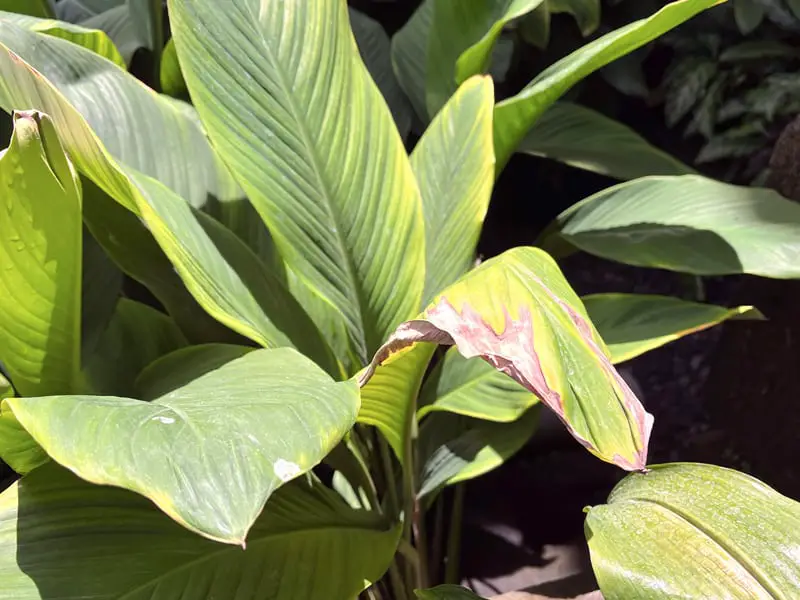
This leaf scorch is also caused by the plant losing water faster than it can replace it. The outer leaves are the first to be affected as they are working overtime to protect the inner leaves from the harsh sun.
How to save a sun-scorched peace lily:
If you think your plant is getting too much sun, the easiest solution is to move it to a shadier location.
You can place your peace lilies under a tree, on your porch, near a north-facing window, or in any other location that offers filtered light. Hang sheer curtains over the windows to diffuse the light even further if necessary.
It is important to monitor your plants carefully once you have moved them to a shadier spot. If you still see scorched leaves, other factors, such as bacterial infections, may be causing the problem.
Steps to Troubleshoot Brown Leaf Tips
Now that you know some of the most common reasons for brown leaves on peace lilies, it’s time to troubleshoot the problem.
Here are some steps you can take to determine the cause of brown leaves and get your plant back to good health:
1. Check your soil and drainage
The first step is to check your peace lily’s soil and drainage. If the potting mix is too wet or poorly drained, it could be causing the roots to rot, which will lead to brown leaves.
Use a soil meter or your fingers to check the moisture level of the potting mix. If the top 2 inches of the soil stays wet even after two weeks since you last watered, the drainage is likely poor and you will need to repot your plant.
To improve drainage, add perlite or bark chips to the potting mix. Additionally, you can also use a pot with multiple drainage holes to help excess water escape.
Conversely, if the soil has dried out completely, the leaves will also turn brown. Be sure to water your plant regularly and never allow the potting mix to dry out completely.
2. Examine for signs of salt build-up
If moisture level in the soil is not the problem, the next step is to check for signs of fertilizer residue on the soil.
White crust build-up on the potting soil surface is a telltale sign that you’ve been over-fertilizing your peace lily. This excess fertilizer can burn the roots and cause the leaves to turn brown.
To remove the fertilizer build-up, flush the potting mix with lukewarm water. This will help to wash away some of the excess fertilizer.
3. Inspect the roots
Damage to the roots is another common cause of brown leaves on peace lilies.
If the roots have been damaged, they will be discolored and mushy. You will need to prune away any damaged roots, treat them with hydrogen peroxide, and repot them in a fresh potting mix.
4. Prune damaged leaf
A lot of people asked me whether they should cut the brown tips off their peace lily leaves.
Aesthetically, brown leaves can be unsightly on your peace lily. If the damage is only a small area of the leave, you can trim them away with a sharp pair of scissors.
Be sure to disinfect the scissors with rubbing alcohol before and after trimming the leaves to prevent the spread of disease.
However, if the damage has spread to a large portion of the leave, it is best to remove the entire leaf.
This will allow the plant to redirect its energy to new growth and prevent the spread of disease.
